The Challenge: Intrapartum Education Is Slide-Heavy and Time-Starved
Labor and delivery educators rarely get protected slide-prep time. A unit-based educator on the L&D floor is also charging for shifts, running drills, signing off competencies, and squeezing teaching prep into nights and weekends. The same is true for certified nurse-midwives running antenatal classes, OB residents teaching shoulder dystocia drills, and clinical instructors who rotate fresh nursing students through the unit every six weeks.
The lectures themselves are remarkably consistent across institutions: perineal trauma reduction, obstetric forceps technique, vacuum-assisted delivery indications, second-stage management, non-invasive labor support, postpartum hemorrhage drills. The literature is settled on the major moves. The bottleneck is turning current evidence into a teachable deck, week after week, with photographs and anatomy diagrams that don't look like they came from a 2008 textbook.

This guide walks through using ChatSlide to draft an entire intrapartum-care lecture — perineal trauma reduction, forceps case review, non-invasive labor techniques — in minutes, then refining it for L&D nurses, CNMs, OB residents, or in-service training.
What Makes a Strong L&D Education Deck
Intrapartum lectures live in a different rhythm than research conferences. Learners want decision rules they can apply at 3 a.m., not literature reviews. The structure that works on busy units:
- A clinical opening. "A multipara at 9 cm presents with crowning and an asynclitic head" — start with the case, not the citations. Learners come awake when they see a patient.
- The decision rule. When does the maneuver / instrument / technique apply? When does it not? A flowchart slide here is more useful than two paragraphs.
- The technique itself, step-by-step, with anatomy. This is where most decks fail — generic stock photos instead of clear positional diagrams. Replace stock with a clean illustration or annotated photograph.
- The contraindications and complications. What you'll see if it's wrong; what you do next.
- A case-based review. Two or three short scenarios with the right answer keyed to the decision rule.
- One-page recap students can screenshot. The single highest-value slide is the one a new grad pulls up on their phone before clocking in.
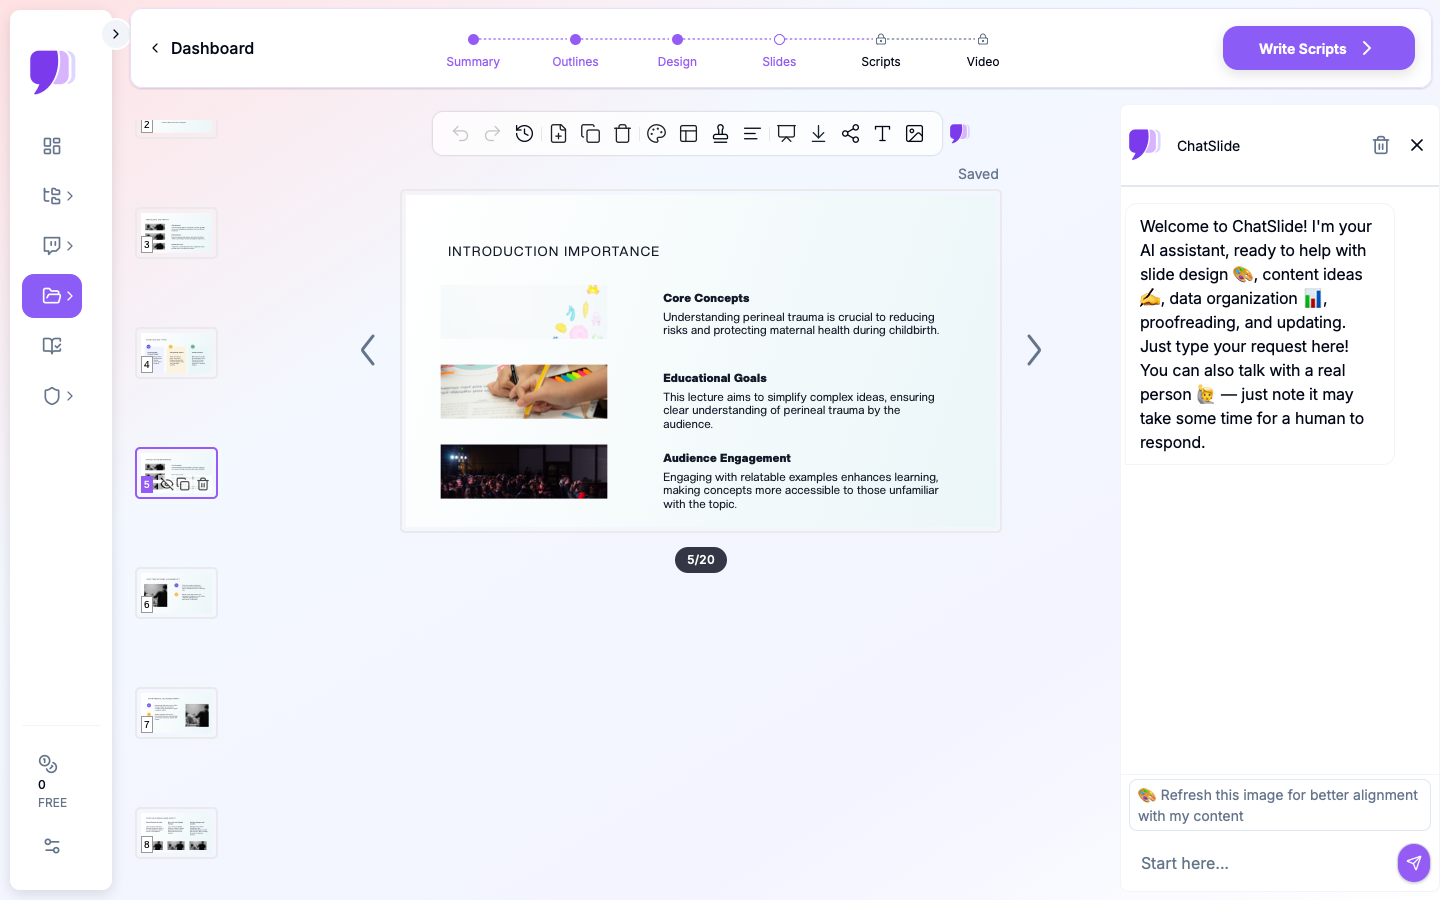
ChatSlide's *Education|Lecture scenario maps to this structure by default — a clinical opening slide, sectioned content, and a closing recap.
Step-by-Step: Draft Your L&D Lecture in ChatSlide
1. Choose the right scenario and audience
In a new project, select Education > Lecture and write the audience concretely: "L&D nurses with 6+ months on the floor preparing for the certified inpatient obstetric nurse exam" or "CNM students rotating through their first intrapartum block". The audience field shifts the language of the deck — clinical shorthand for experienced nurses, full terminology for students.
2. Frame the topic by clinical question
A topic of "Perineal Trauma" produces a generic deck. A topic of "Reducing perineal trauma in second-stage labor: warm compresses, hands-on vs. hands-off, and when episiotomy is justified" produces a deck with built-in decision rules. The same applies to forceps: "Outlet forceps for prolonged second stage: indications, contraindications, and the four checks before pulling".
The outline step shows you what you'll get before any slides render — adjust section count to 6 for a tight 50-minute lecture or 8 for a deeper 90-minute in-service.
3. Re-architect the deck for the floor
The first generation gives you structure. Walk through and:
- Promote the decision rule to a flowchart slide. A node-and-arrow diagram beats a bulleted "indications" slide every time.
- Replace generic delivery-room photos with anatomical positional diagrams or a clear illustration — ChatSlide's editor lets you swap the image block in two clicks.
- Add a "complications and what to do next" slide between the technique and the case review. This is the slide nurses ask for after class.
- Insert the institution's policy slide. If your hospital has a perineal care bundle or a forceps competency form, attach a slide that points learners to the document.
4. Pull in current evidence and your own data
Upload guideline summaries (ACOG, RCOG, or your local L&D protocols) into the project resources. Ask ChatSlide to summarize the relevant sections into bullet form, then drop the summary onto a "current evidence" slide. If you track unit metrics — third- and fourth-degree laceration rate, episiotomy rate, vacuum-to-cesarean conversion — those numbers belong on a "where our unit stands" slide that gives the lecture local relevance.
5. Use speaker notes for case discussion
Speaker notes are where you put the questions you'll ask the class: "What do you do if you see a 3+ on the perineum mid-crowning?", "When do you call the attending?". ChatSlide preserves notes through PowerPoint export, so they show in your presenter view at the front of the room.
6. Export for the LMS and the floor
Export as PowerPoint (for live teaching) and PDF (for the unit binder and for nurses who want to study on their phones). The deck stays editable for next quarter's revision instead of being locked into a static handout.
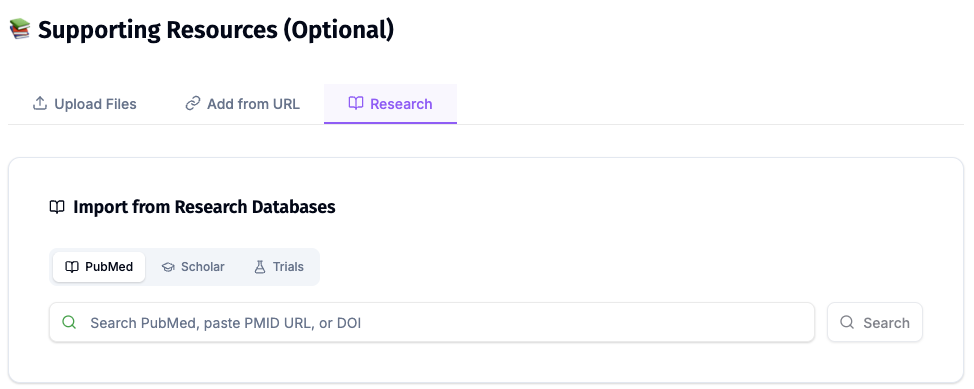
Direct Research Database Access
ChatSlide's Research tab connects to the databases physicians use daily:
- PubMed: Search by keyword, PMID, or DOI. Find the landmark trials, recent publications, and clinical guidelines relevant to your case. The AI reads abstracts and incorporates key findings into your slides with citations.
- Google Scholar: When your topic spans disciplines — say, the intersection of genetics and oncology — Scholar captures the broader academic literature that PubMed alone might miss.
- Clinical Trials (NCT): Presenting on a treatment where pivotal trials are ongoing? Search by NCT number or condition to pull trial design, endpoints, and status into your slides.
Tips for L&D Educators
- Build a deck library by clinical move, not by topic. One deck per technique (perineal trauma reduction, vacuum, outlet forceps, shoulder dystocia, postpartum hemorrhage) is more reusable than a single mega-curriculum.
- Reuse a consistent template across the unit. Visual consistency matters when nurses are reviewing material on a 12-hour shift; pick a theme and lock it.
- Show the form / checklist your unit actually uses. A photo of the laceration documentation form is more useful than a paragraph about documentation.
- Plan competency assessment separately. OSCE scenarios and skills checklists belong in a separate document; the lecture should leave nurses with intuition that the OSCE then tests.
- Save your guideline source PDFs in the project. Next semester's educator (or future-you) can rebuild the deck without hunting down the source.
Get Started
Intrapartum education is a teaching job, not a slide-building job — but the slide-building always wins out unless you give it a shorter path. ChatSlide handles the scaffolding so unit educators, CNMs, and chief residents can spend their time on the case discussion, the drills, and the evidence updates that actually change practice.
If you teach labor and delivery, midwifery, or OB residency curriculum, open ChatSlide and try drafting your next in-service from a topic line. Most educators finish a six-section lecture in under thirty minutes — including the case review.
For neighboring use cases, see our guides on fertility and reproductive health presentations, medical grand rounds decks, and patient education materials.
A note on patient data and HIPAA. ChatSlide's standard plans are not a HIPAA-covered service — keep PHI out of slide content, prompts, and uploads. For hospital systems, group practices, and clinics that need a Business Associate Agreement, our Enterprise plan offers HIPAA-compliant deployment options — contact us to discuss BAA terms, SSO, and private-cloud or on-prem hosting.